


Introduction
A Floppy Drive is a type of portable storage using which we can store our data and transfer it. Floppy disks were invented and made by IBM in the late 1960s. Floppy Disks are very helpful to distribute software, transfer data, and create backups.
Formatting a floppy drive removes all the pre-existing data stored in the floppy drive. Also formatting a floppy drive checks for errors in the drive and also can remove sophisticated viruses.
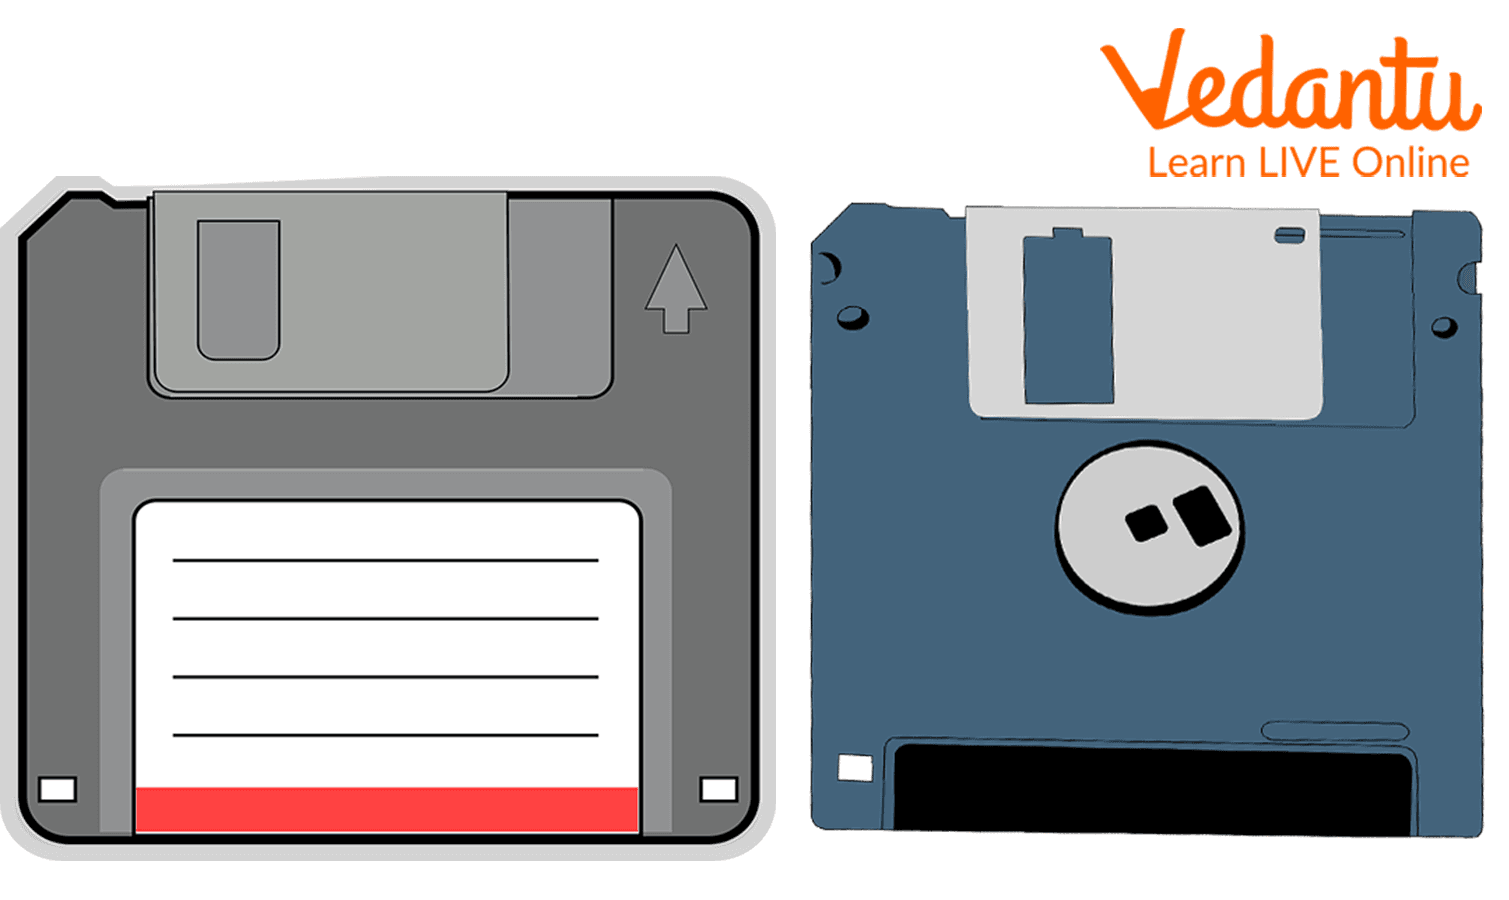
Floppy Disk front and back
How to Insert a Floppy Disk
A 3.5” floppy disk has its own uniqueness and some features that helps to identify the correct method in which the floppy drive should be inserted into the computer
Some general rules for insertion of a floppy disk
One Way
Generally a floppy disk can be inserted in one way only. The floppy disk is inserted in one way in the floppy disk reader and when the floppy drive is successfully inserted the ejection button pops out which allows us to eject the drive when needed.
Sticker
All the floppy disks have a sticker on them to label it. While inserting the floppy disk, the sticker should be on the top of the computer.
Protection Tab
There is a small write protection that can slip up and down. That must be on the left side when the floppy disk is inserted in the floppy drive.
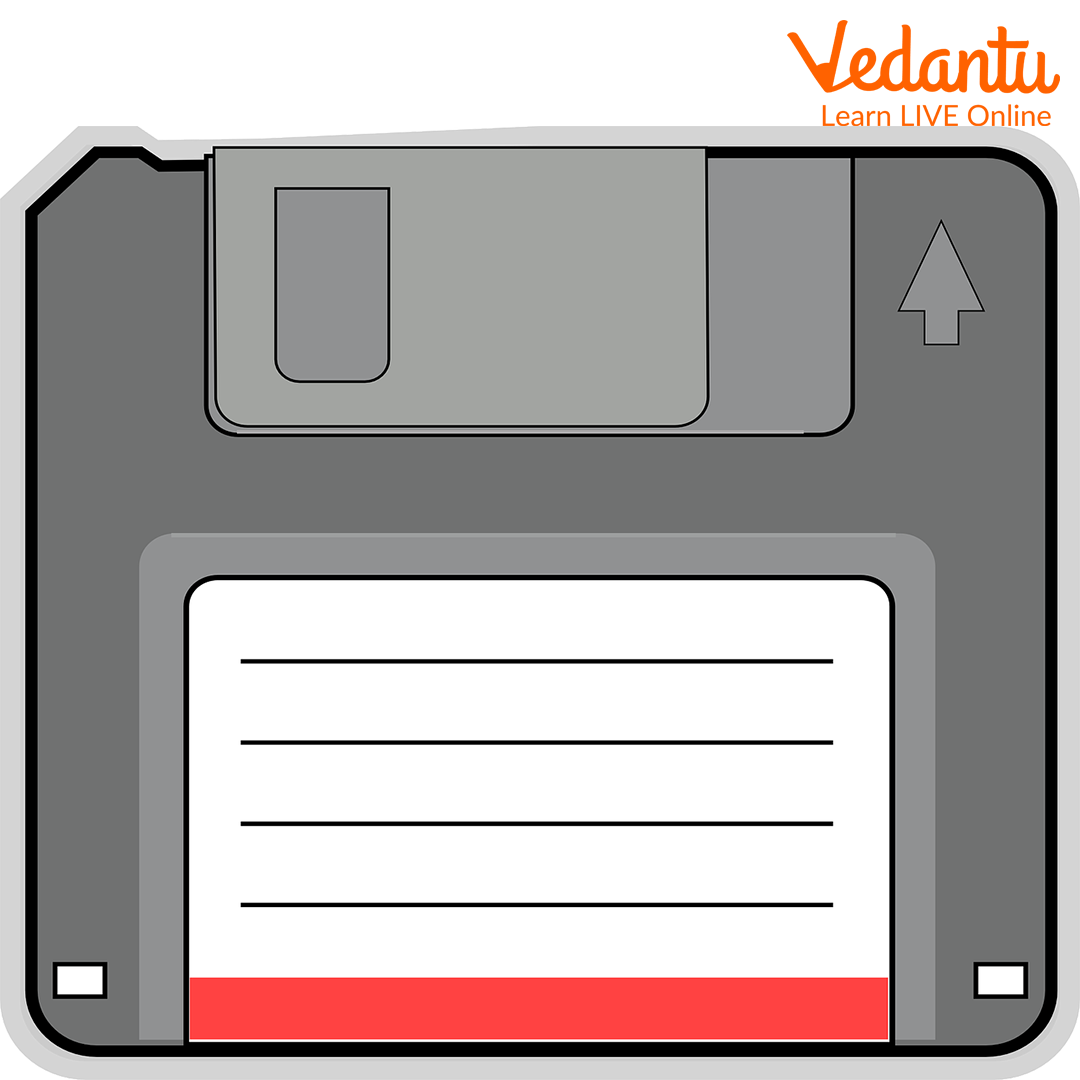
Floppy Disk
Steps to Format a Floppy Disk
A floppy disk can be formatted be following some really simple steps that are
Insert a floppy disk into the floppy disk drive.
Firstly we need to insert the floppy drive that has to be formatted, in the floppy disk drive.
Double-click the My Computer icon.
Then after inserting, click on the My Computer icon on the desktop.
Right-click the icon for the floppy disk drive, usually labeled 3 1/2 Floppy (A:).
In the My Computer, we can see the floppy disks if inserted correctly, usually labeled as 3 ½ Floppy (A:). Right-click on that icon and a menu will open.
Select Format from the menu that appears.
From the menu that appeared, Select the Format option.
Click Start. It should take several minutes for the computer to format the floppy disk.
From the dialogue box opened, click the start button on the dialogue box. The formatting process will begin which might take several minutes for the computer to format that floppy disk.
Once the disk is formatted you can start saving your important files to the floppy disk.
After formatting the Floppy disk we can easily start saving all the important files and data that we want, in the Floppy Drive.
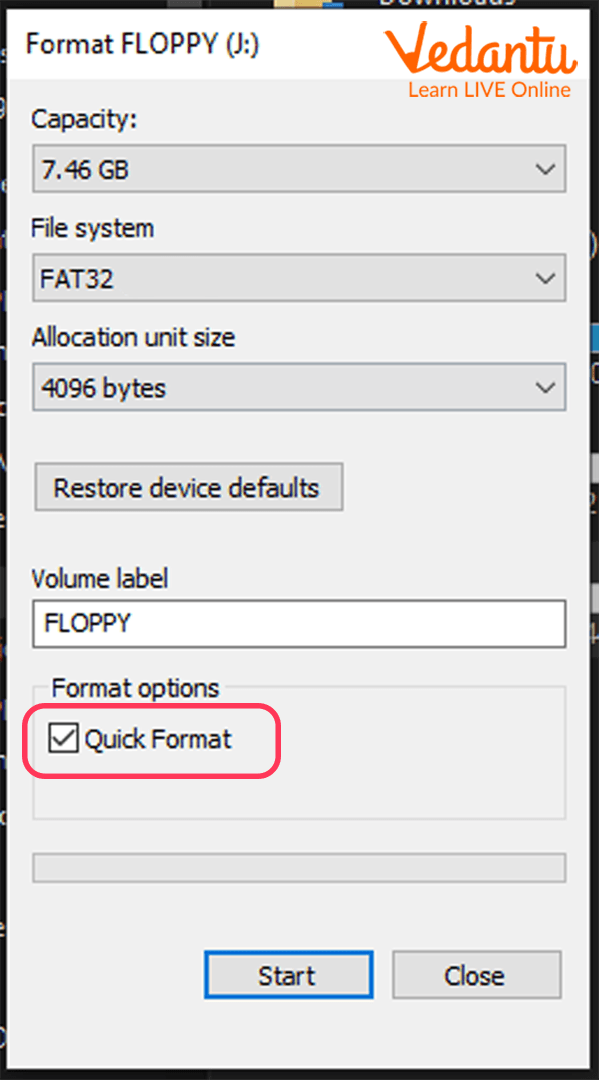
Floppy Disk formatting Dialog Box
How to Read a Floppy Disk Without Formatting It
Content from the floppy diskette can be easily read without formatting it by following some simple steps which are as follows-
Insert the floppy disk in the floppy drive on the computer
Firstly, the disk that has to be read is inserted in the floppy disk drive on the computer
Double Click on the My Computer icon on the desktop
Then double click on the “My Computer” icon on the desktop and open the floppy drive
Copy and paste the files and folders to another drive
All the files and folders are selected and can be copied in another drive and can be used and accessed easily.
Points to Remember
Floppy diskette are a portable media device
There is a single way to insert the floppy disk in the floppy drive.
Floppy disk data can be easily copied and accessed by copying in the Computers
Floppy disk can be formatted easily by format option from menu after right clicking the floppy drive in “My Computer”
Practice Questions
Try inserting a floppy disk and mention the steps involved in inserting the floppy drive.
Try formatting a floppy drive by following the steps learnt.
Sample Questions
1. Choose the incorrect statement
Floppy Disk is used to store data
Floppy Disk cannot be used without formatting.
There is one single way to insert a floppy disk.
All the above
Ans: B.)
2. What is the use of a floppy disk?
Ans: A floppy diskette is a form of portable media storage. A floppy disk can be used to store information, transfer software, data and create backups in it.
3. List various rules of inserting a floppy drive.
Ans: There is only one single way to insert a floppy disk:
The Label sticker should be on the top while inserting the floppy disk.
The protection tab should be on the left of the floppy disk while inserting.
Summary
In this, we learned about floppy disks and got answers to the questions like, How to insert a floppy disk? how can we format a floppy disk? how can we read a floppy disk without formatting? We learned the step-by-step procedure of inserting a floppy disk, and formatting a floppy disk.
FAQs on How to Format a Floppy Drive?
1. What are the Steps to format a Floppy Disk?
Steps to format a Floppy Disk are -
Insert a Floppy Disk in the Floppy Drive
Double-click on My Computer icon
Right-click on the Floppy drive icon
The select format from the menu appeared
Click Start
2. What are the functions of a Floppy Disk?
Functions of Floppy Disk are:
Storage of Data
Transfering the data
Creating Backups
3. Can we format a floppy drive after storing the data?
Yes, we can easily format the floppy drive after storing the data by following the same steps.